Sunday, 30 June 2013

Gelli Plate Fun with Margaret

After last weekend's fun with Gelli plates, I went to see my friend Margaret for. Fun hour or so Gelli plate printing in her kitchen, and we had a great time.

We had lots of lovely things to texture our prints with.

I had a go at making a texture plate with funky foam and double sided tape, following these instructions: http://gelliarts.blogspot.co.uk/2013/01/making-foam-texture-plates-for-gelli.html, and this is how my plate came out


I made these two prints using that plate, and they worked so well that I think I'll have to make some more. The texture plate took me maybe 15 minutes to make.


Margaret had some lovely little wooden houses, which she had made a printing block out of, and so I made this print from them, with swooshy paintbrush sky, and big sequins as resist stars. 


I think this is my favourite of the prints I made today:

I made quite a few prints with circular patterns:


Lots of bronze and pink wiggly lines and circles, and keys. Printing on black was very effective.


And here are all of our prints on Margaret's washing line, fluttering beautifully in the breeze:


I had such a great time. Now I just need to stitch into them...


Gelli Plate Fun with Margaret

After last weekend's fun with Gelli plates, I went to see my friend Margaret for. Fun hour or so Gelli plate printing in her kitchen, and we had a great time.

We had lots of lovely things to texture our prints with.

I had a go at making a texture plate with funky foam and double sided tape, following these instructions: http://gelliarts.blogspot.co.uk/2013/01/making-foam-texture-plates-for-gelli.html, and this is how my plate came out


I made these two prints using that plate, and they worked so well that I think I'll have to make some more. The texture plate took me maybe 15 minutes to make.


Margaret had some lovely little wooden houses, which she had made a printing block out of, and so I made this print from them, with swooshy paintbrush sky, and big sequins as resist stars. 


I think this is my favourite of the prints I made today:

I made quite a few prints with circular patterns:


Lots of bronze and pink wiggly lines and circles, and keys. Printing on black was very effective.


And here are all of our prints on Margaret's washing line, fluttering beautifully in the breeze:


I had such a great time. Now I just need to stitch into them...


Sunday, 23 June 2013

First Forays into Gelli Plate Monoprinting

I had been hearing lots of people raving about Gelli Arts mono printing plates (http://www.gelliarts.com/), but they seemed a lot of money - £30 for a large plate. I had a great day at the West Midlands Embroiderers' Guild Regional Day yesterday, and having spoken to the lovely lady at Art Van Go, I treated myself to a plate.

I couldn't wait to get going, so set myself up with some acrylic paint, various texture things and my Gelli plate, ready to have a play.


My first few prints were not amazingly successful, but that isn't surprising, with anything new there will always be a bit of a learning curve. Thankfully, with the Gelli plate, it wasn't too steep. I also realised that I didn't have any paint colours I really liked, so I popped out to West Bromwich in the rain (complete with odd experience of The Corrs piped into the car park!), and picked up lots of lovely shiny metallic paint, and other supplies.


I don't really have any textured paint scrapers, but the pound shop provided me with a four pack of flexible silicone spatulas for £1, as well as a tray to put my plate onto. A few snips later and the spatulas were ready for their new purpose.

The Gelliarts videos were very helpful, and watching them step by step allowed me to see how to easily build up some good prints.

Here are some of my favourite ones from today, all on fabric:


I loved how direct and gestural the printing plate is. Previous experiences of monoprinting on acetate sheets had been rather unsatisfying, with the acrylic feeling like it dried quickly and didn't allow much build up of texture.

It also gave me an opportunity to make a real mess!


(that's my actual hair comb, hope I won't have gold hair on Monday!)

I made a few prints that I wasn't happy with, until when tidying up I dropped my bottle of pearlescent acrylic ink and it splashed all over the 'failed' prints. Thinking quickly, I pressed them against it, "mono a mono", and smooshed the ink around. These random splotches seem to have rescued the prints, lifting them and adding a spontaneity:


I also used plain copier paper to pull most of the ghost prints, which I have a project in mind for:


Next, I'm planning to stitch into the fabric prints, and then make 4 of them into mini canvases which I picked up at the same time as the paints, and I might make some of them into book covers.

All in all, a great day. I know my mum, nieces and nephews will love this printing method, and I'm really looking forward to getting together with my friend Margaret for a Gelli play day next weekend.

Thursday, 9 May 2013

The Creative Habit

I'm currently participating in a read along hosted by Lynn Krawczyk - Fibra Artysta of The Creative Habit:


The book is all about getting into good routines with creativity, and I am looking forward to reading it, it seems like it's going to be very helpful for dealing with distractions and actually getting down to some stitching.

Saturday, 2 March 2013

A day of fabric painting

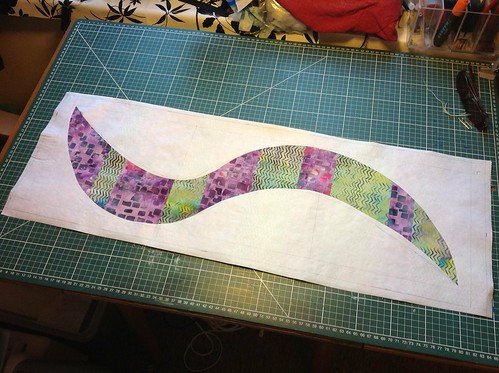
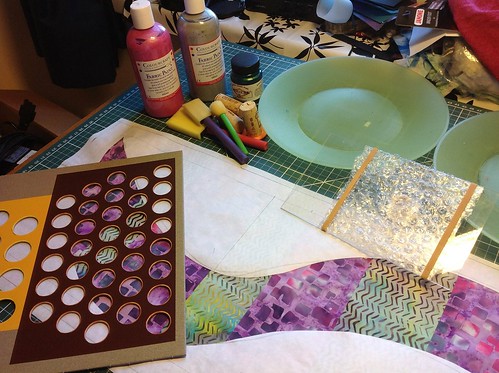
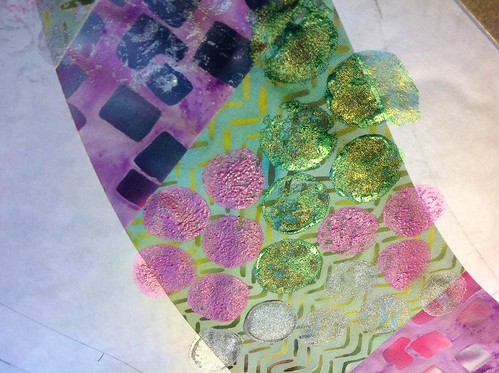
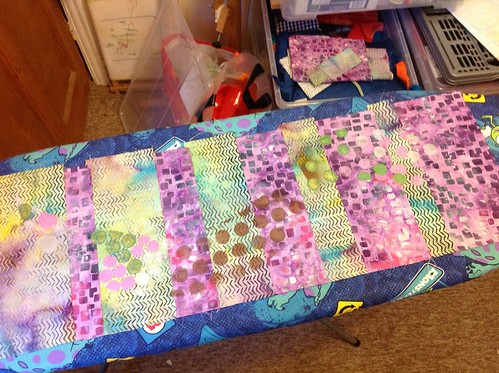
Having pieced some lovely fabric strips last weekend, I set about printing lots of circles on them, using Jacquard lumiere in halo blue gold, some pink and silver metallics, and a generous zap with cosmic shimmer mist.

Fabric painting
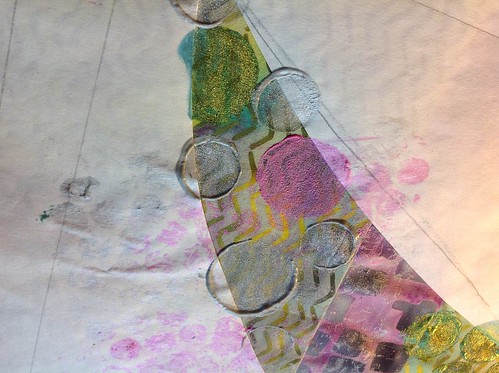
The fabric, with a freezer paper mask in my chosen shape

Fabric painting
Supplies ready to go

I had lots of fun adding circles:
Fabric painting

Fabric painting


Fabric painting

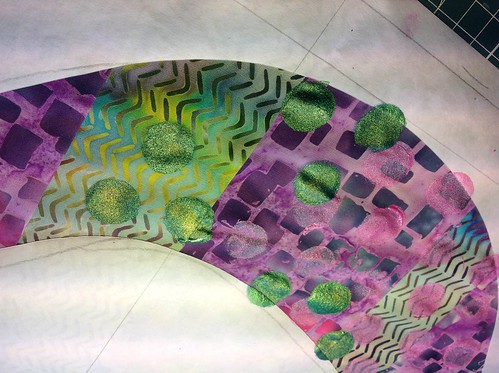
And here it is with the mask removed, ready for lots of stitching, buttons and beads over the next few weeks:

Fabric painting

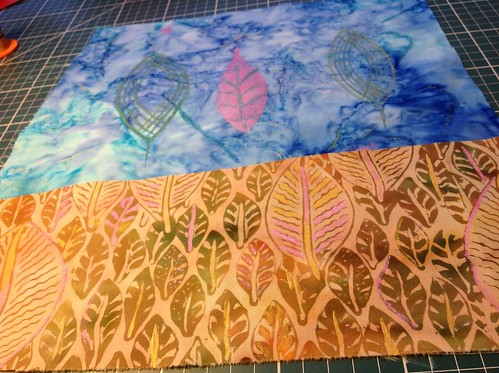
While I had spare fabric paint on the palettes, I also painted these two bits for another piece:

Fabric painting

All in all, a lovely Saturday!

Friday, 25 January 2013

Snow Dyeing Day

Having spent four days this week walking to and fro between home and the office over snow and ice, I was feeling throughly fed up, so I decided to take Friday off and have a craft day. Since I have some Procion MX Dyes, and there's snow everywhere, I thought I'd try snow dyeing.

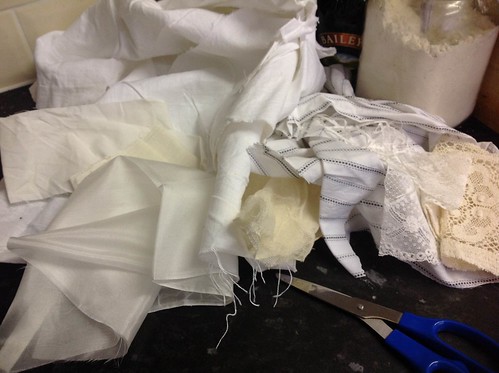
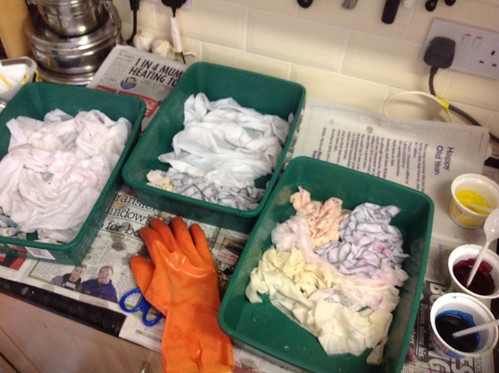
I had a dyers pack of fabrics and lace from the WM Embroiderers' Guild regional day last summer, so I chose some fabrics and soaked them in soda ash.

Dyeing day

Next I mixed my dyes, and scrunched the fabrics in bargain £1 from Poundland cat litter trays.

Dyeing day

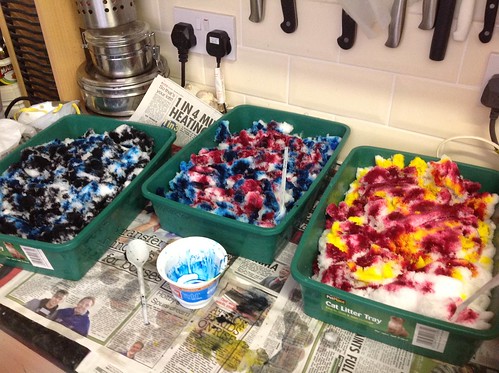
I piled them with heaps of clean snow and then drizzled my dyes on top; one blue-black tray, one blue-red tray, and one red-yellow tray.

Dyeing day

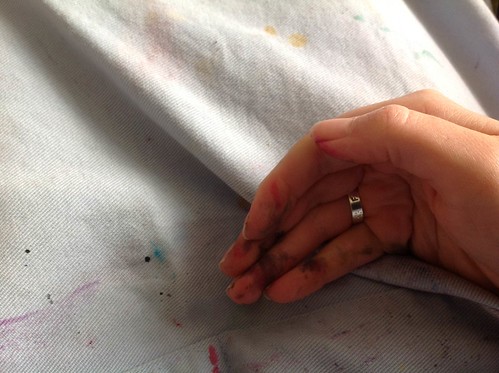
Now I just need to let them sit, batch them somewhere warm overnight, then rinse them. As a side effect, I now have pretty hands and apron!

Dyeing day

This afternoon I'm planning to make some felt, in lovely purple shades.