
Another way of working was to draw onto the screens with print paste using bottles with thin nozzles, with the drawn lines transferring to the finished prints.
The screens were left to dry overnight, and the next morning we came back to them, and picked out all the embedded objects.
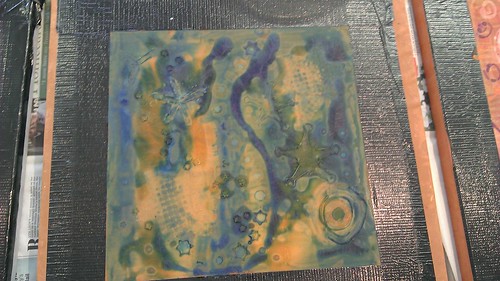
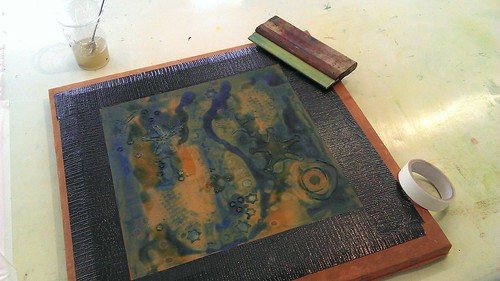
Then the big fun began. We laid the screens down onto the (pre-treated) fabric, applied either clear or coloured print paste, and pushed the squeegee down across the screen. Initially heavy areas of dried pastes were acting as a resist, so applied colours only came through the thinner areas. As the paste got wetter and broke down, more and more transferred onto the fabric, meaning that each screen placement resulted in a different print. While the process was hard to tame, it wasn't entirely unpredictable, and produced beautiful results.
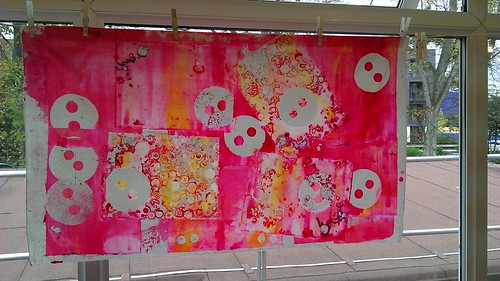
Sadly, someone accidentally picked up two of my three finished pieces of fabric so I can't share them with you at the moment, but the MAC are trying to get them back for me.


